Hello,
below is a comprehensive guide for setting up an HPE ProLiant server with ESXi. This includes HPE licenses, iLO configuration, UEFI BIOS settings, Compute Operations Manager (COM), firmware & driver updates, and registration in the HPE Support Portal. The settings described reflect my personal “best practices” and may not be suitable for every environment.
1. Ordering
Let’s start with the ordering process. I always recommend purchasing ProLiant servers with the iLO Advanced license, as it provides full remote access, email notifications, and much more. There are two options, as an example, here is:
- BD505A: HPE iLO Advanced 1-server License with 3-year Support
(paper license included in the box) - E6U64ABE: HPE iLO Advanced Electronic License with 3-year Support (license sent via email)
Both options are functionally and price-wise identical. The difference is that the paper license is pre-installed by HPE in factory-configured servers (CTO), while the electronic license must be manually entered later. I prefer the paper version for convenience, but the electronic version is less likely to be lost.
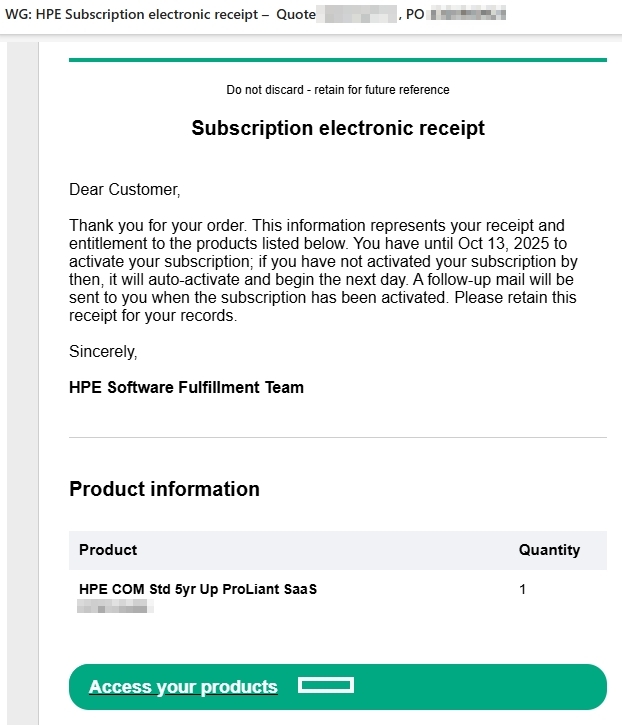
For Compute Ops Management (COM), the license is always delivered electronically, with two versions:
- R7A12AAE: COM Standard, 5-year upfront ProLiant SaaS
- S5E60AAE: COM Advanced, 5-year upfront ProLiant SaaS
(includes iLO license, but both expire after 5 years)
The Advanced version already includes the iLO license mentioned above. But be careful, the iLO license for the server is normally valid forever. However, since the COM license is only valid for the specified period (in this case, 5 years), the iLO license for the combo also expires after 5 years, and at the same price. Everyone has to decide for themselves whether that makes sense; at least it doesn’t for me.
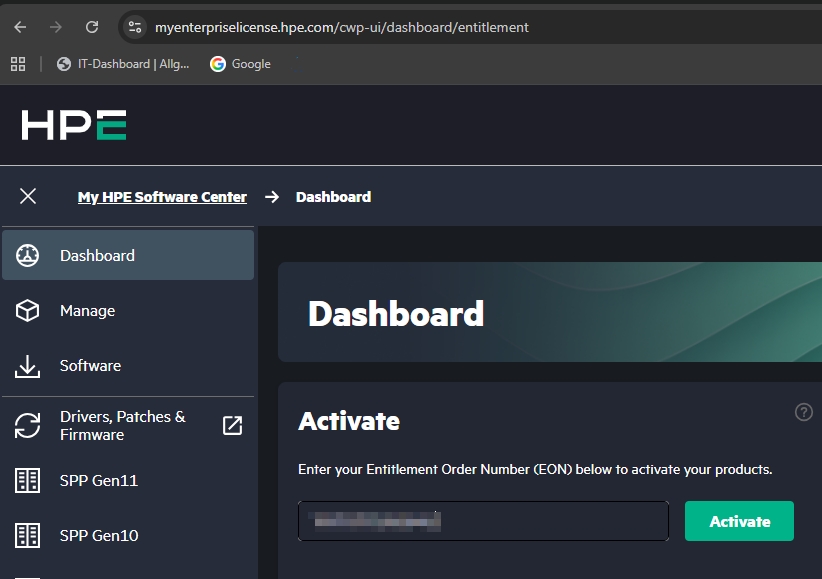
2. License Activation
To assign licenses (iLO and COM) to your company and generate license keys, use the HPE License Portal. Log in, go to “Activate”, and enter the “Order Number” from your certificate or email.
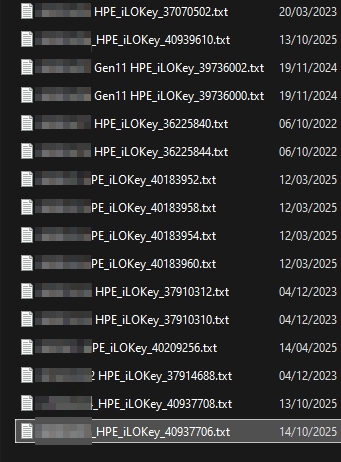
We then receive a license key (iLO)
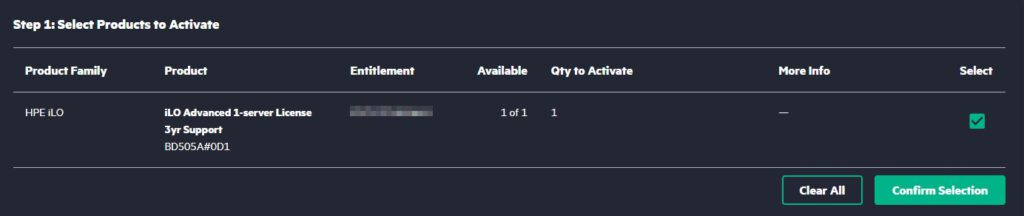
or subscription key (COM).
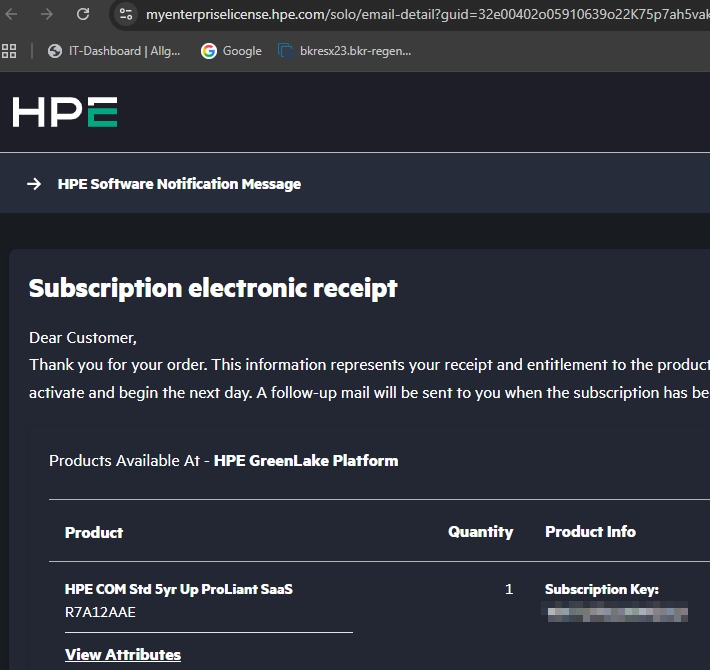
You’ll receive a license key (iLO) or subscription key (COM). I recommend storing these securely.

Since many people can’t find the email (it usually arrives at the purchaser’s email address), here’s an example:
3. iLO Configuration
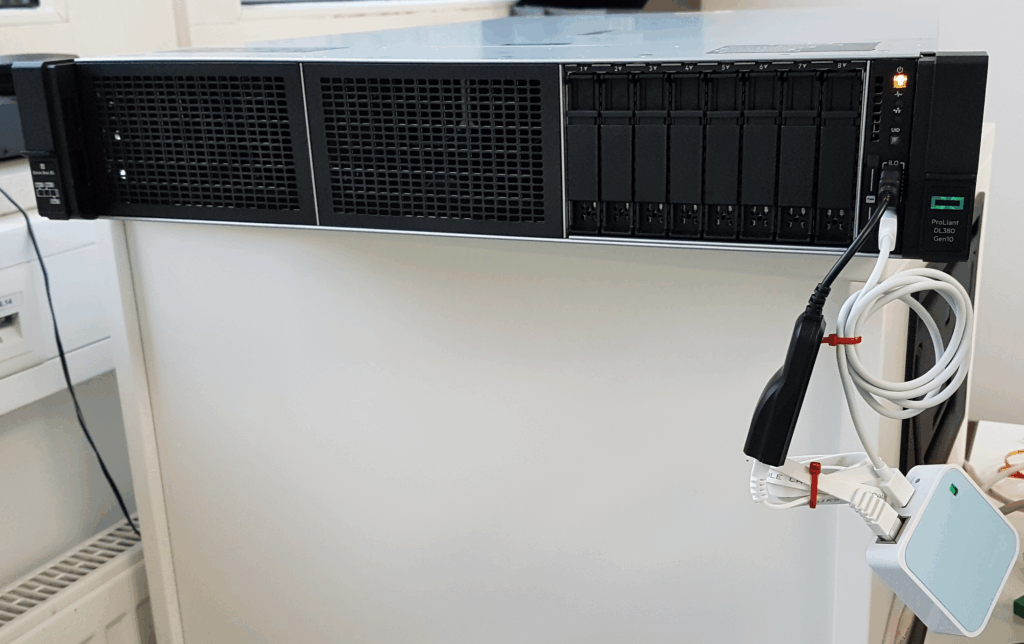
After unpacking, the first thing to do is configure the iLO management.
There are three connection options:
- Connect the iLO port to LAN and let DHCP assign an IP
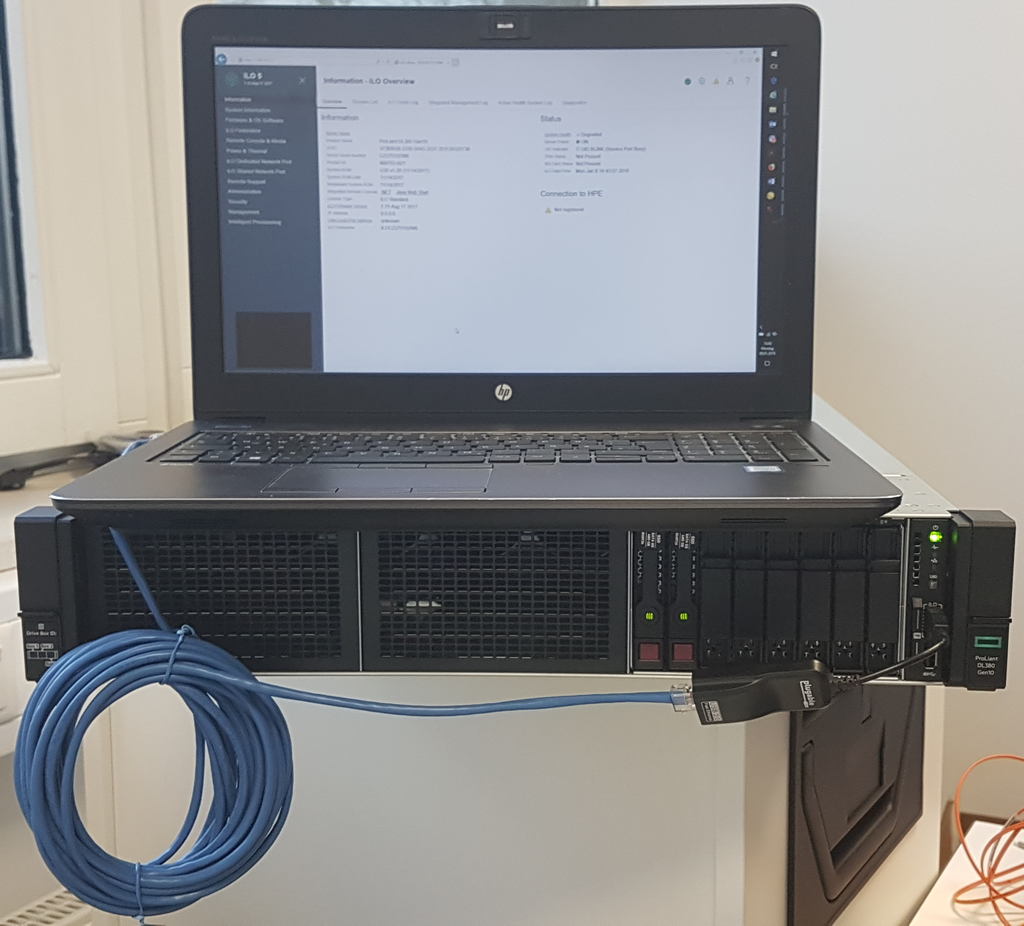
- Connect monitor and keyboard
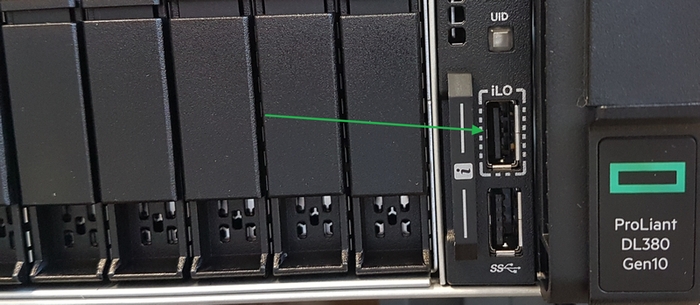
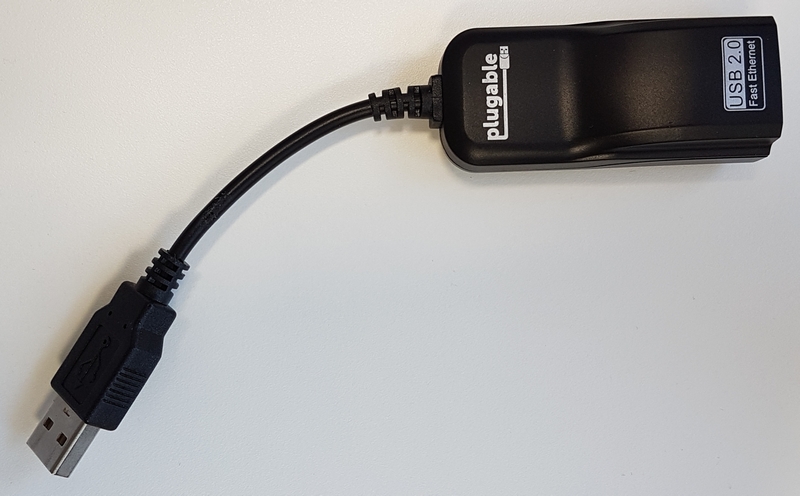
- Use the iLO Service Port
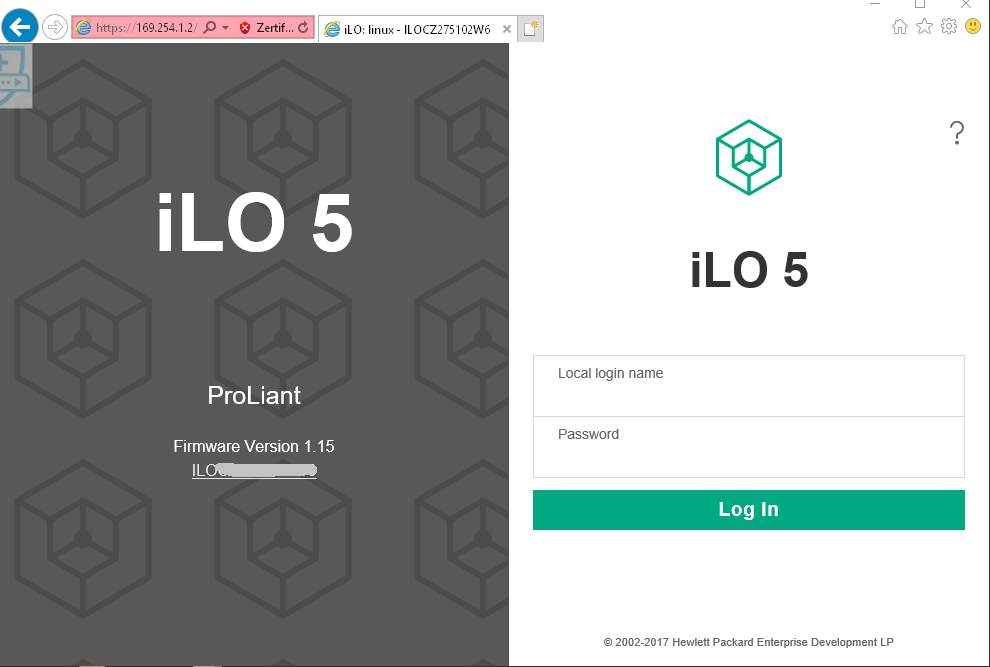
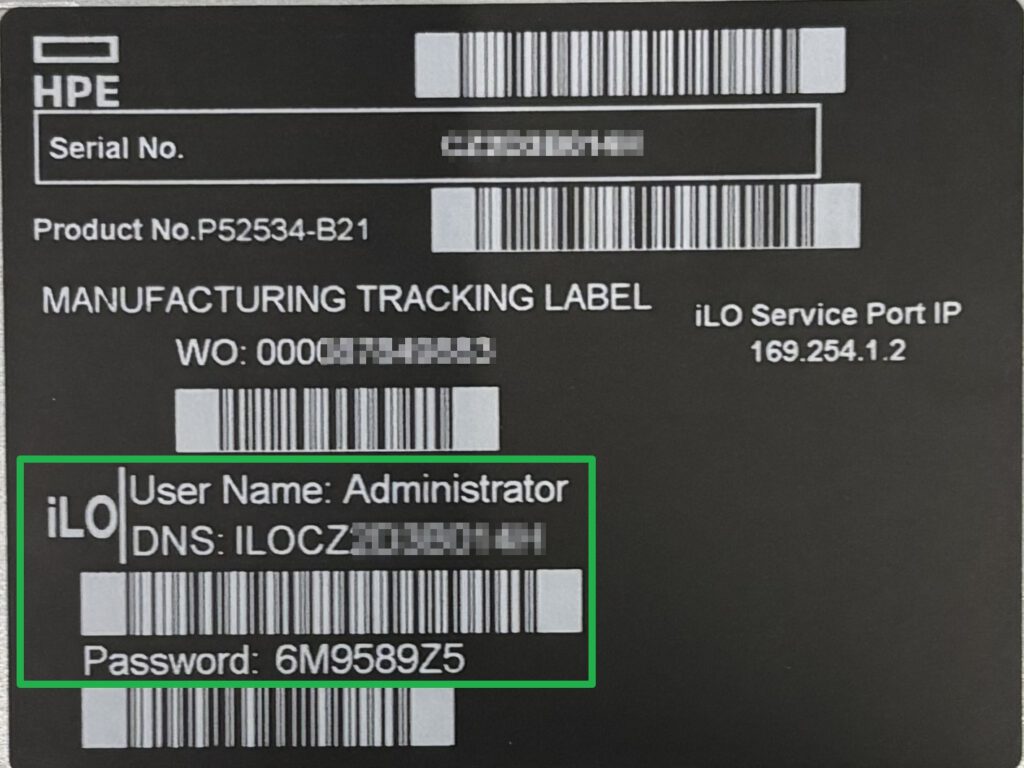
I use option 1 and connect via DNS name, using credentials from the server label.
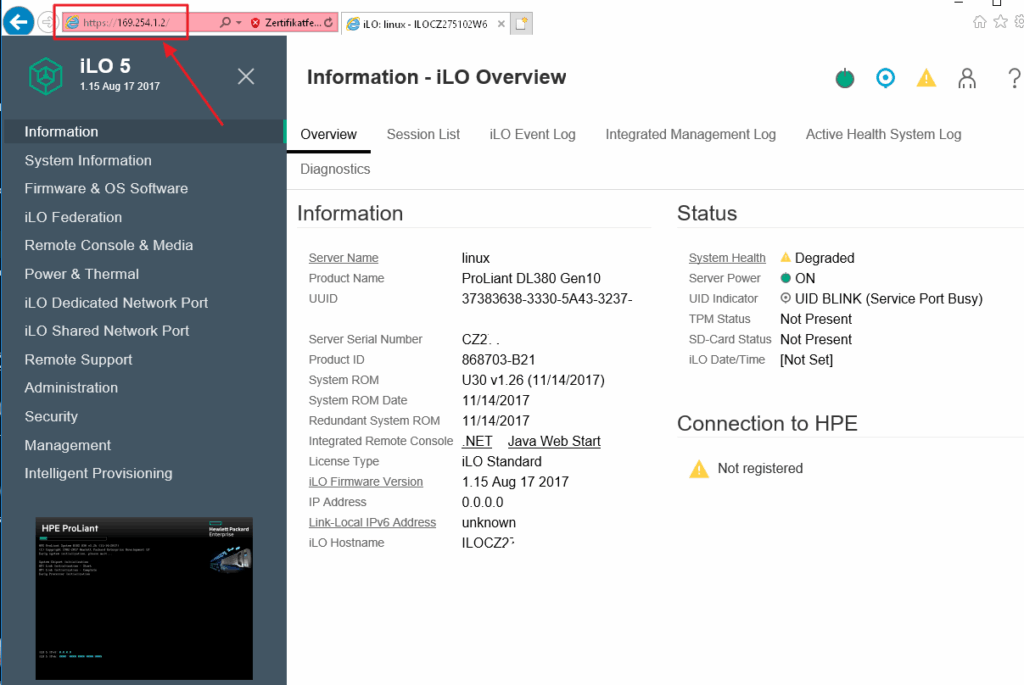
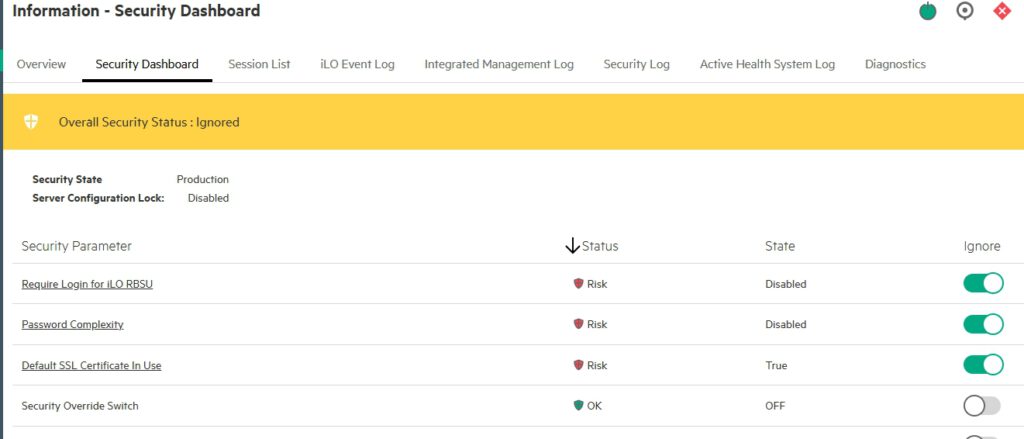
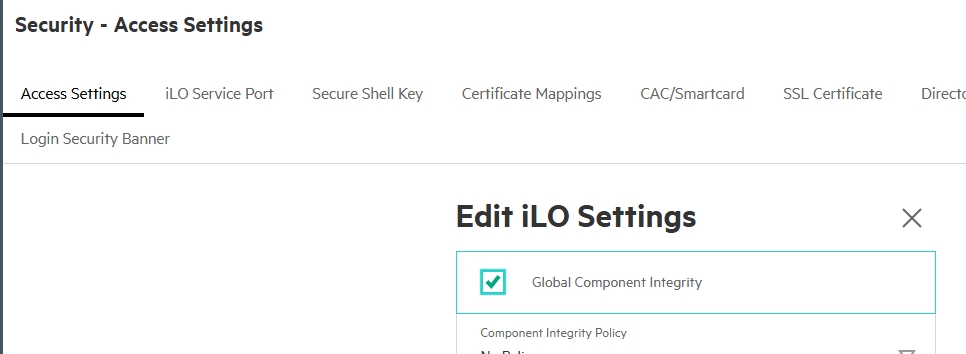
First, we try to get as many green fields as possible via the Security Dashboard in the top left corner without using the „Ignore“ buttons. The hyperlinks lead us to the settings:
Activate „Global Component Integrity“:
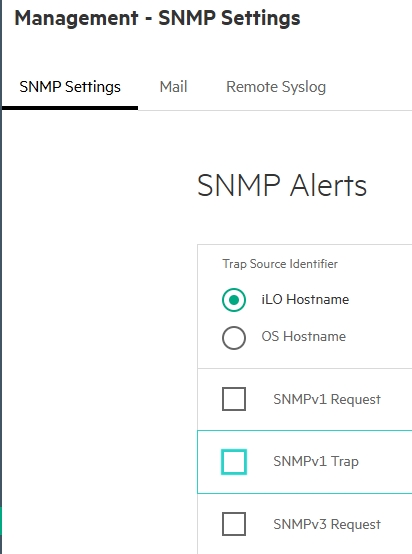
Then disable SNMP v1; unencrypted data transmission is really outdated.
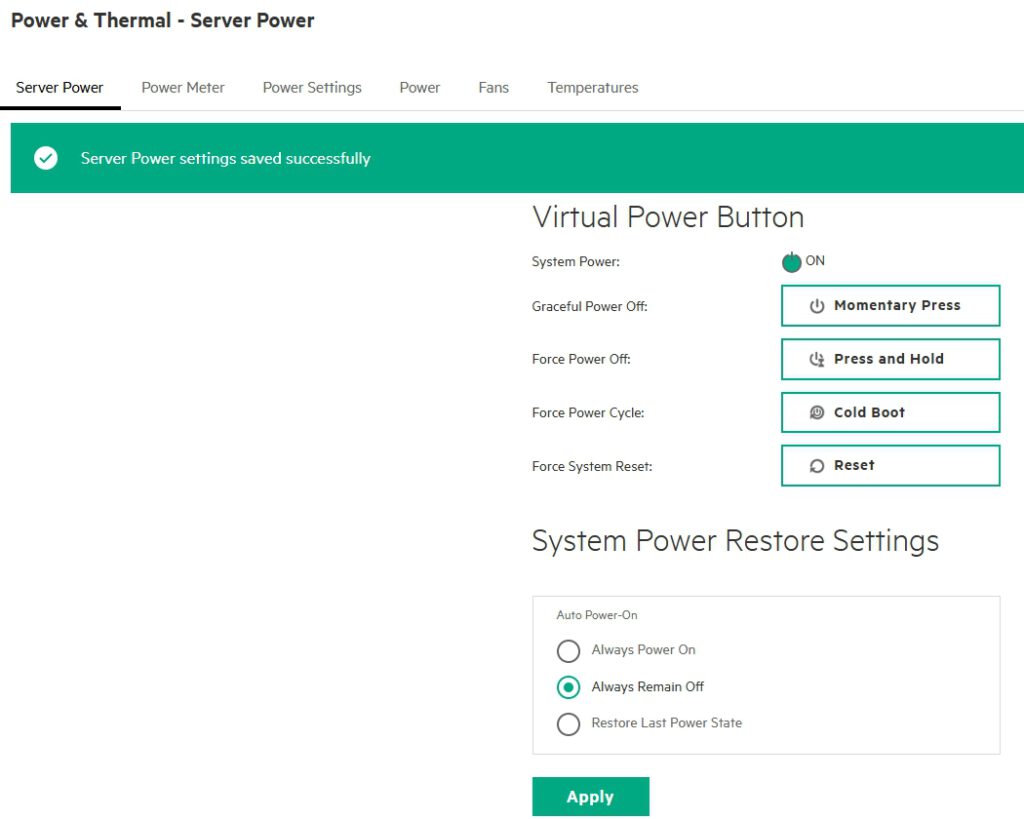
I set System Power to „Always Remain Off.“
In the event of a power failure, the servers have to be restarted in an orderly fashion and in the correct order. There are always exceptions, such as only one server or a physical domain controller.
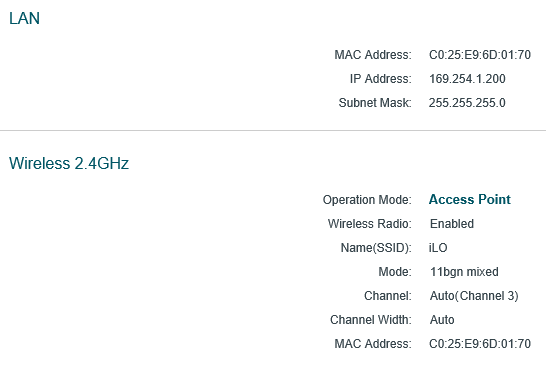
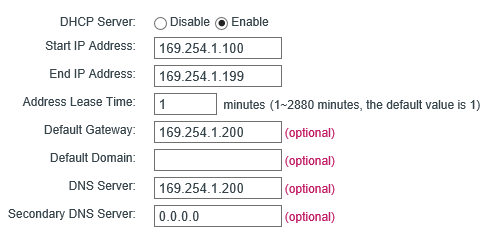
Under the network settings, we adjust the names, IP addresses, and also the time server. The time from the iLO is important because the secure connection to COM is established via certificates and these are not valid if the time is incorrect.
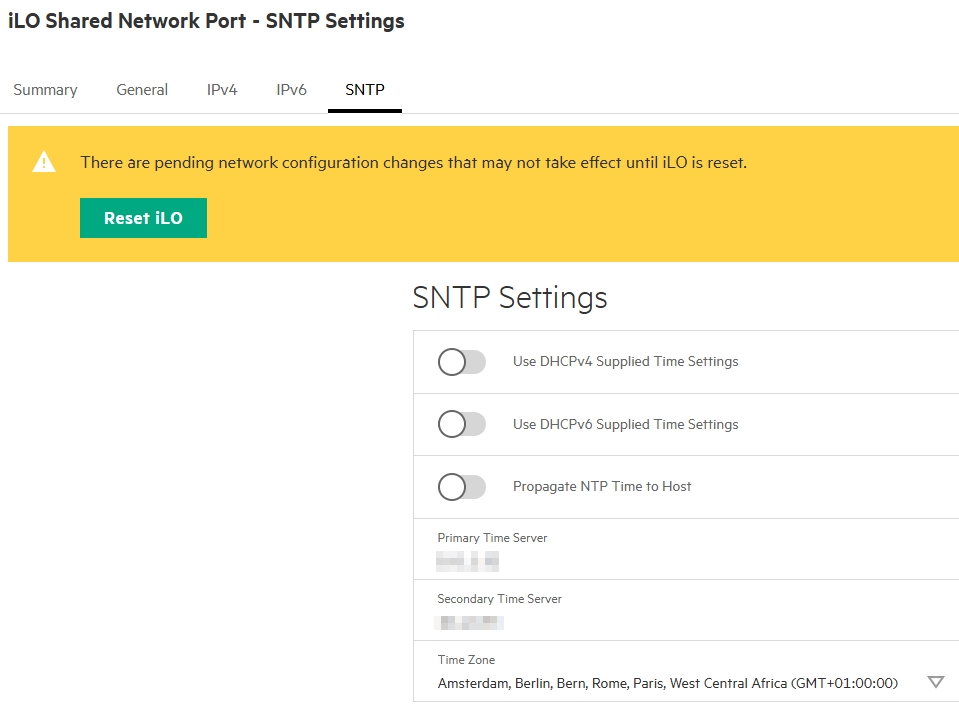
Please don’t forget to restart the iLO (not the server) to apply the settings. The button for this has been somewhat misleadingly labeled „Reset iLO“ for many years. It doesn’t reset the settings, but rather triggers a reboot of the iLO; „Reboot iLO“ would be more appropriate in my opinion.
After that, the „Secure Boot“ setting is still missing from the Security Dashboard, which we now need for almost all current operating systems. To do this, we need to access the UEFI BIOS by clicking on the remote console in the bottom left corner.
4. UEFI BIOS
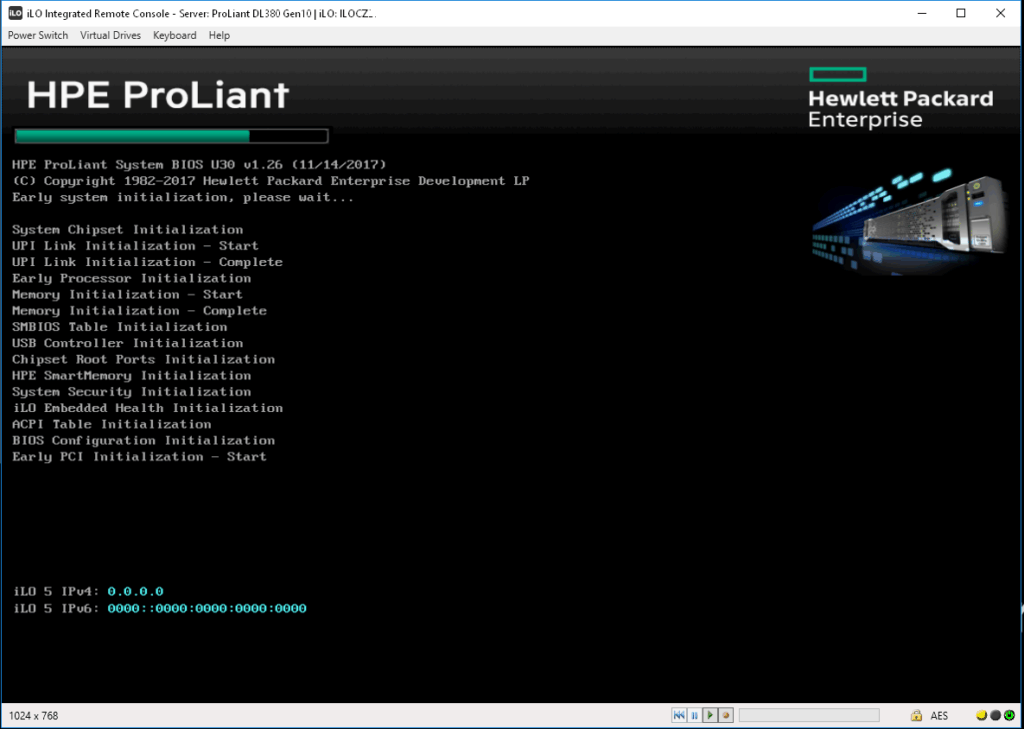
To access the UEFI BIOS, press F9 when the notification appears at the bottom of the screen.
During boot, we see that „Workload Profile: General Power…“ and „Secure Boot: Disabled“ are enabled.
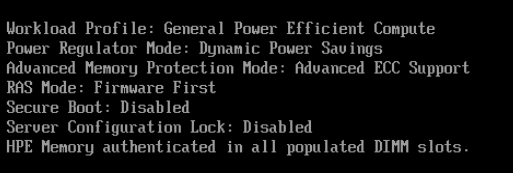
For whatever reason, the iLO’s time setting is not being applied to BIOS.

We set the „Workload Profile“ to match the application, here:

Since we don’t want network boot, we disable it:

We’re still missing „Secure Boot,“ which will be found here:
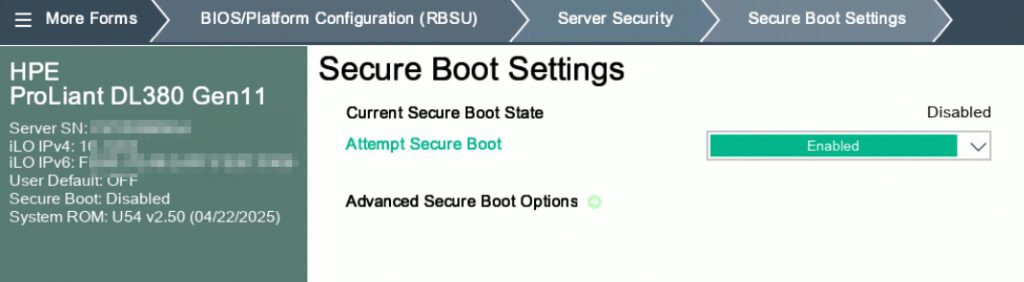
Save and reboot.
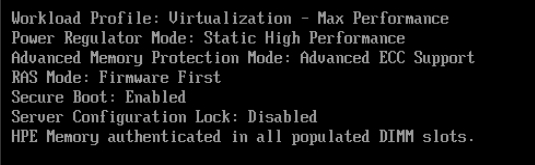
During the reboot, we check the correct profile settings and Secure Boot.
5. ESXi Installation
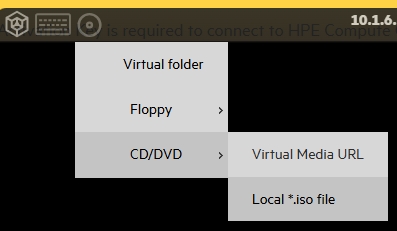
Using the iLO remote console (bottom left), we mount the ISO image of the operating system.

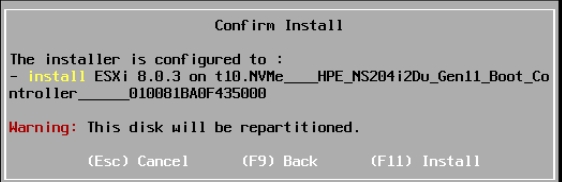
The server should then boot into the setup routine and find the installation disk.
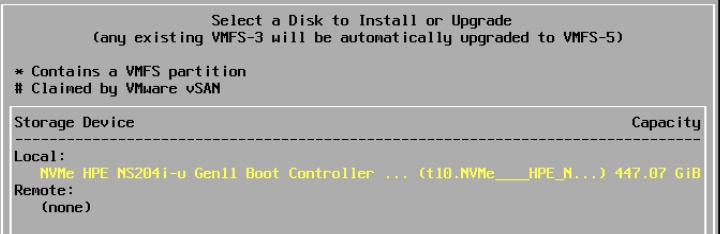
Format, install, and finish—nothing special so far.
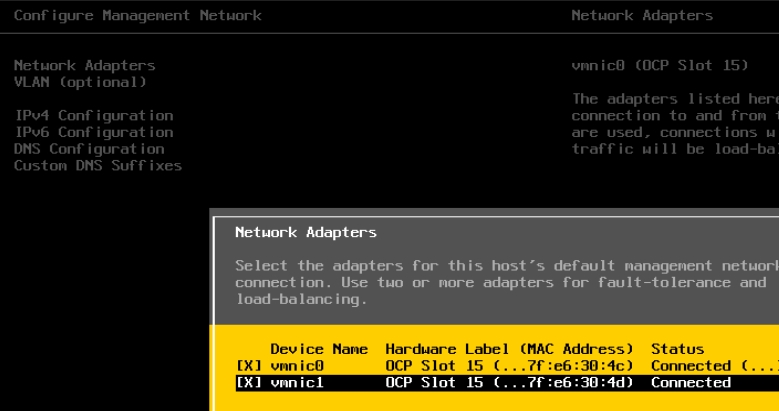
Now that the installation is complete, we’ll make a few more settings.
First, we enable both network ports for management.
Then we configure the IP addresses,
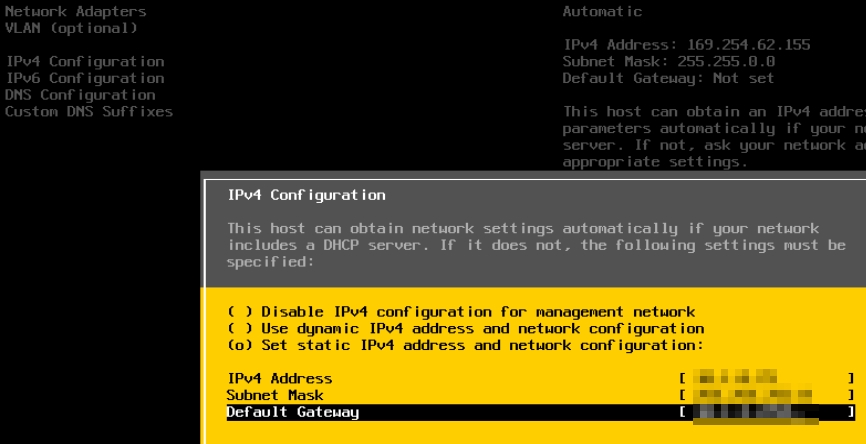
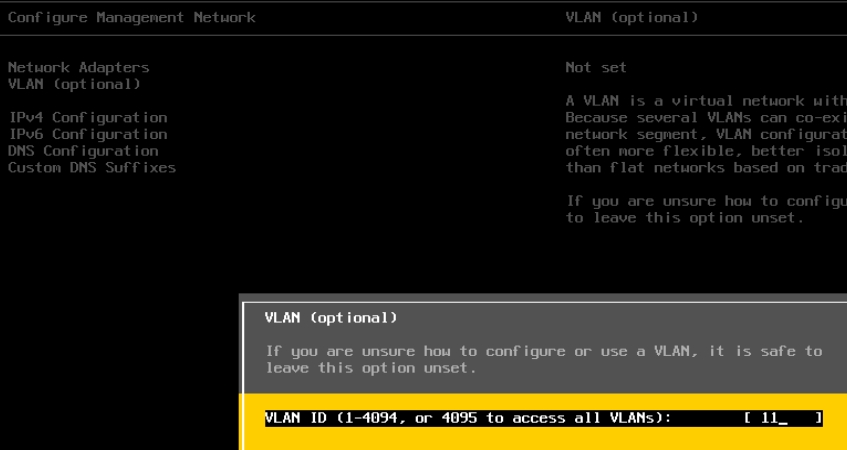
possibly a VLAN ID,
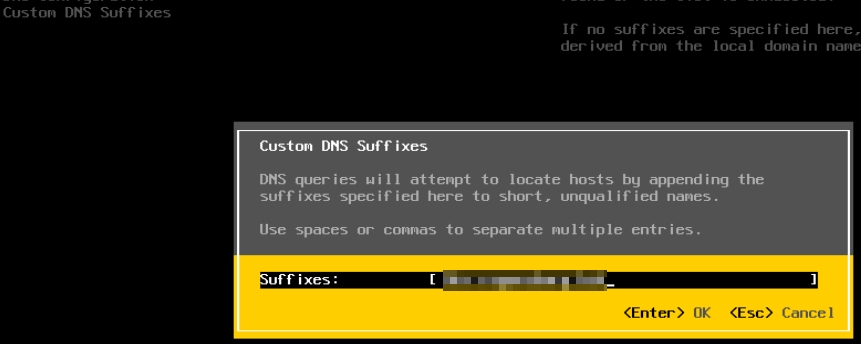
the DNS suffix, and
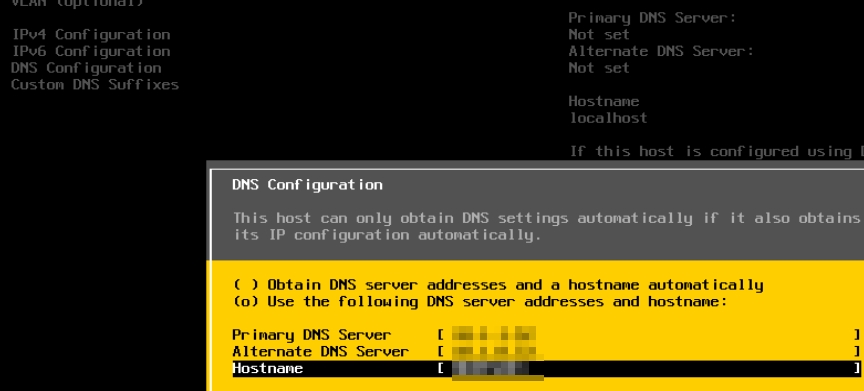
finally, DNS and the hostname.
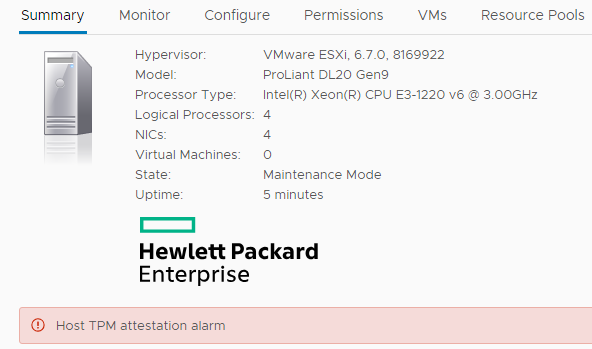
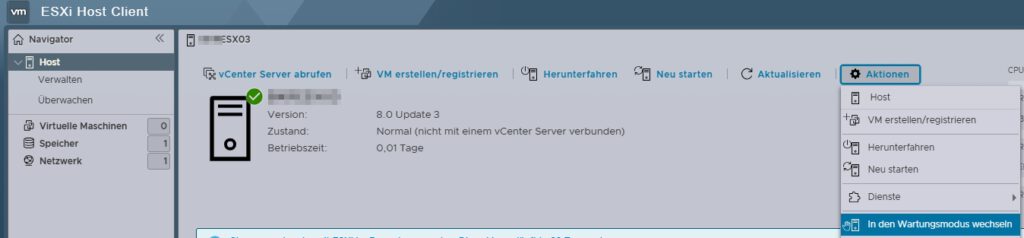
We should now be able to access the ESXi web-based management and enable maintenance mode there.
That’s all done, next we’ll focus on the COM.
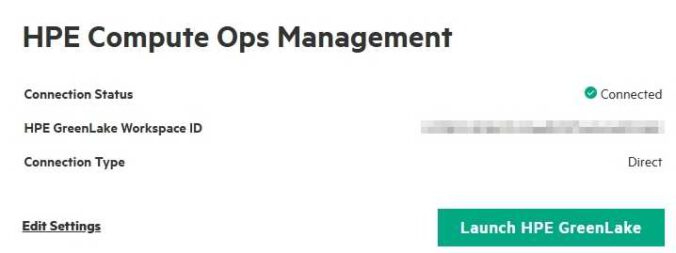
6. HPE GreenLake Portal
Access COM via the HPE GreenLake Portal. If there isn’t a workspace yet, we’ll create one. If it’s a new location, you should also define the location right away.
From the „Featured Services,“ we select the COM and add it to match our region.
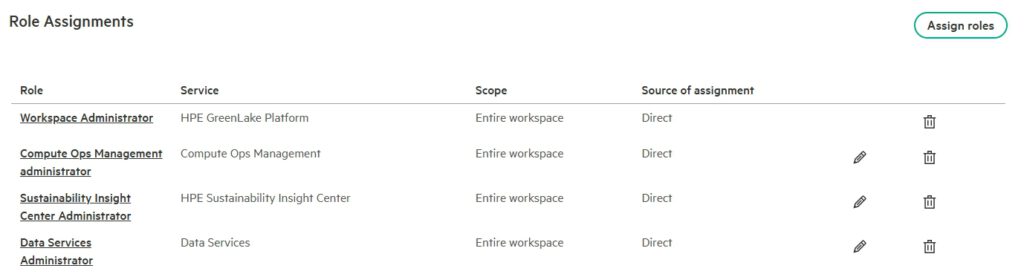
Now we need access rights to the COM, which we can get via „User Management“ on the right under „Quick Links.“ We click on the user and assign the necessary rights using „Assign Roles.“ For me, it looks like this:
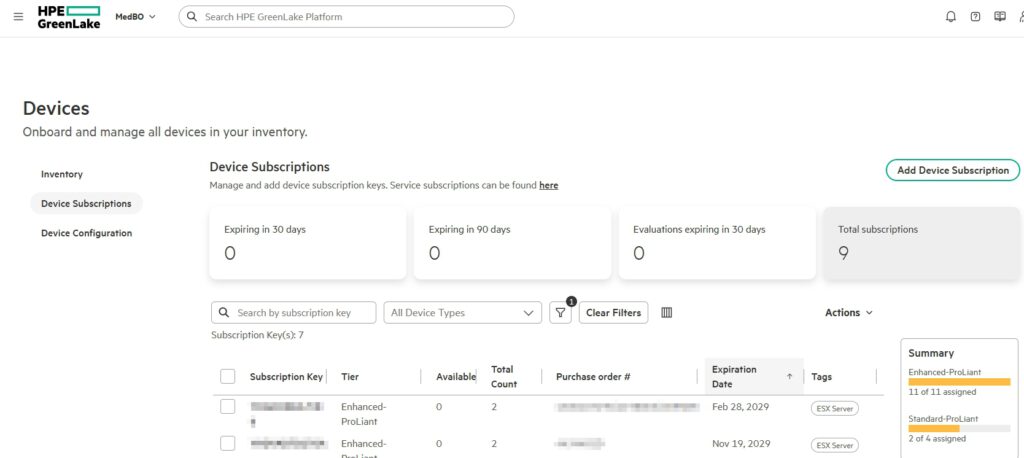
Now we need to add our COM license for the server (from the beginning). To do this, go to „Devices“ and select „Add Device Subscription.“ Alternatively, we can also assign a tag to the subscription so that we know what it’s intended for.
Next, we add the server; we can find the required serial and part numbers on the iLO homepage.
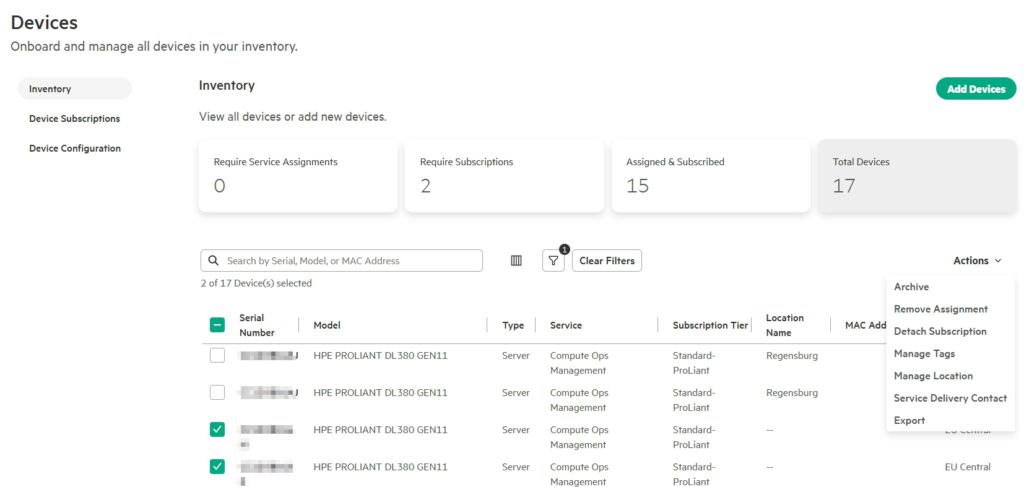
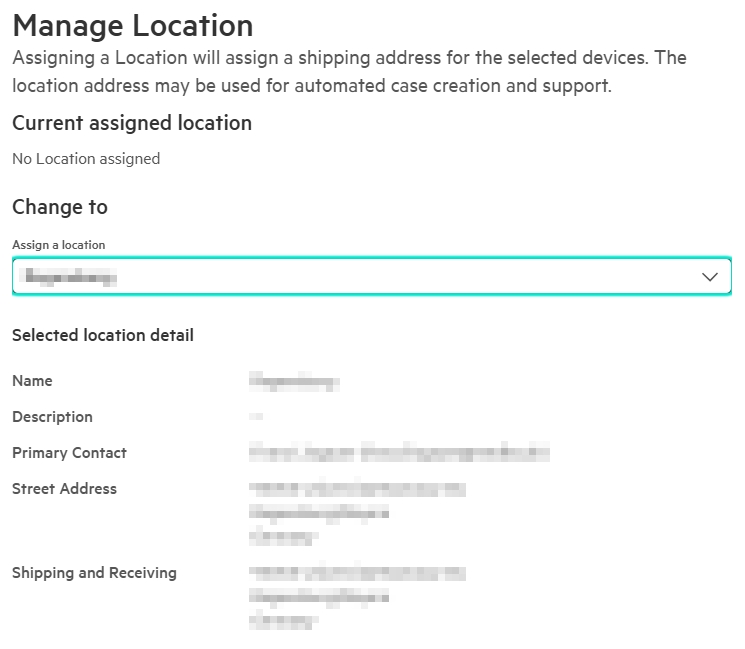
It’s also a good idea to assign tags, location, and service contact here. The subscription can be selected immediately or later in the COM.
7. Compute Ops Management (COM)
Now it’s time to link the server to our workspace.
To do this, go to „Add server“ in COM.

To get an „Activation Key“ for the server, select „Use existing…“ and select the key from the list above.
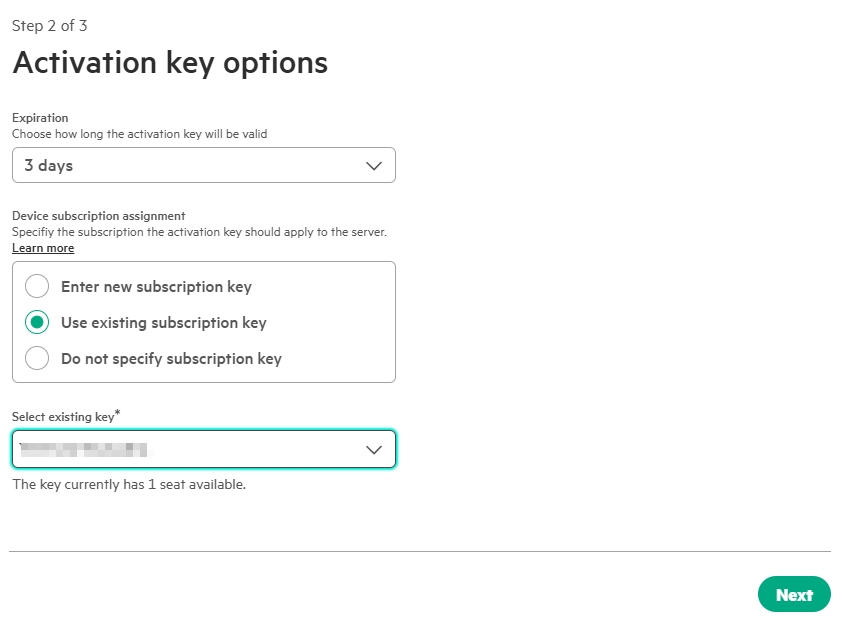
We now have 3 days to enter this key in iLO.
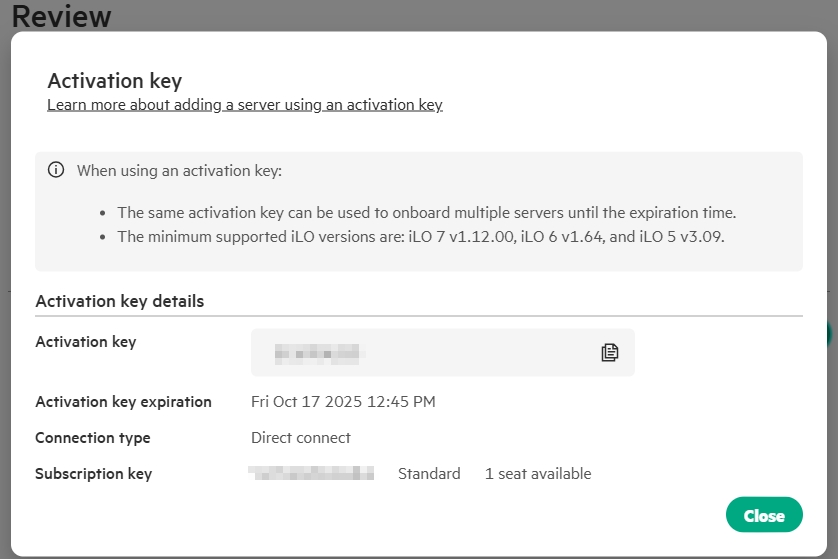
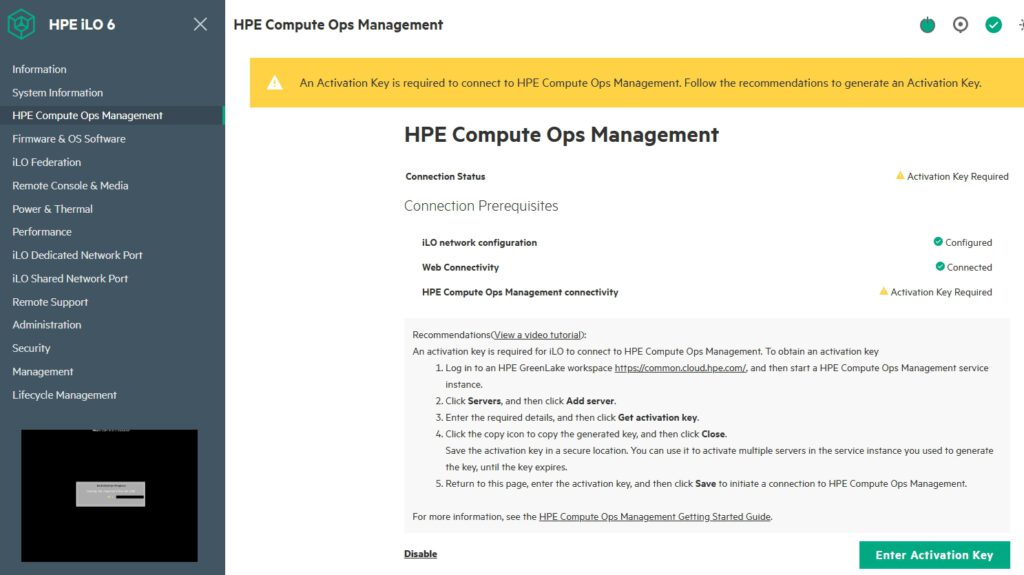
In my case, we can add 3 servers. Enter the copied key in the bottom right corner in iLO COM Section.
If successful, it should look like this after a short time:
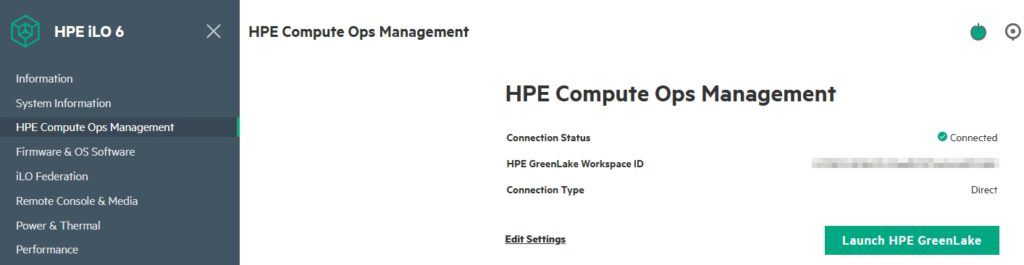
The servers will now appear in the list, and discovery will begin.

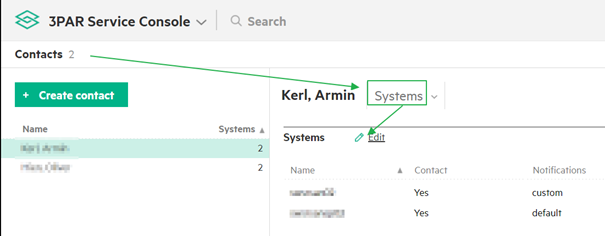
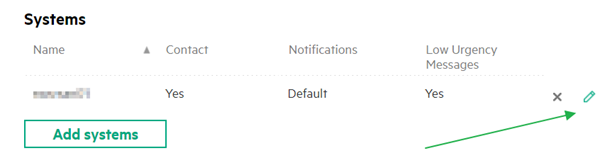
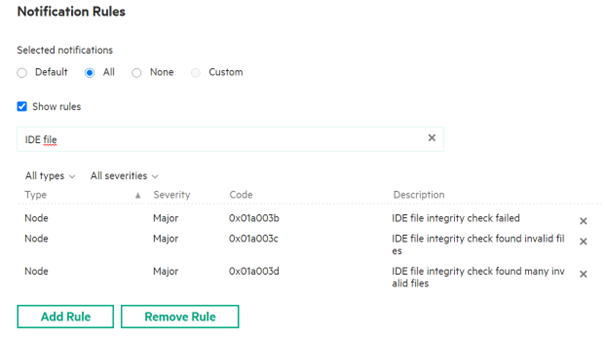
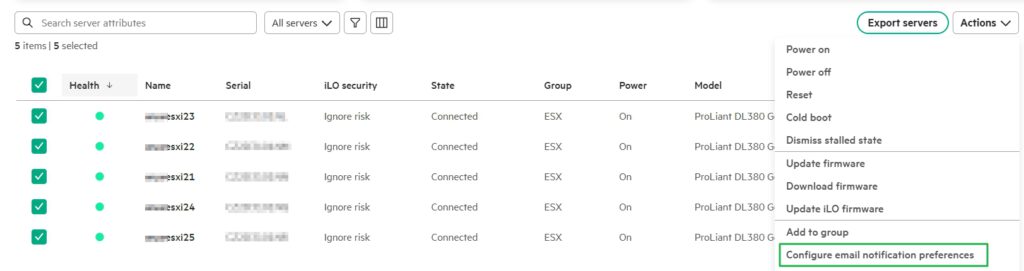
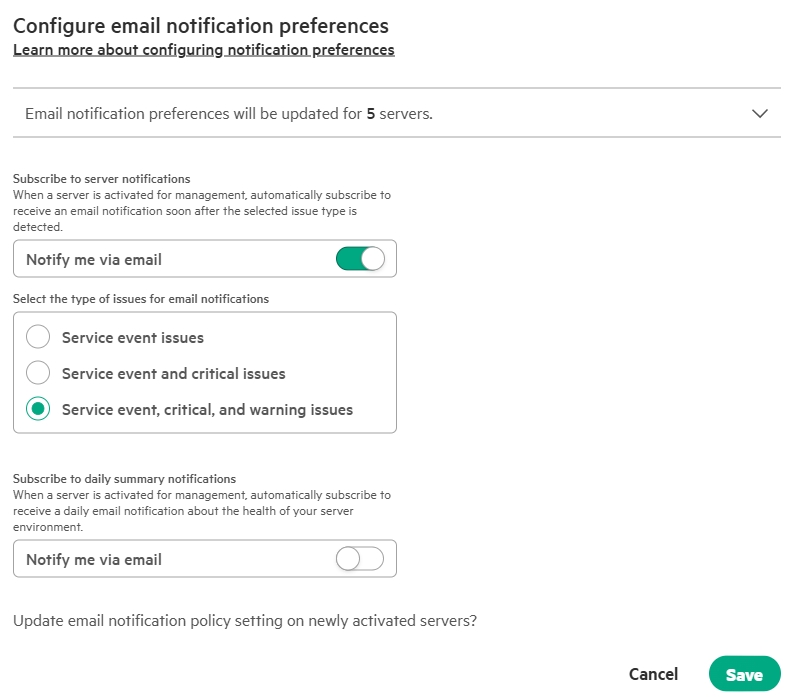
It’s also a good idea to set up an email notification should a problem arise:
Unfortunately, today, you can only select a daily summary, which is overkill for me. It’s a shame there isn’t a monthly summary; I’ve been wanting that as an improvement for a year.
So far, so good. Finally, the firmware and driver updates are still missing.
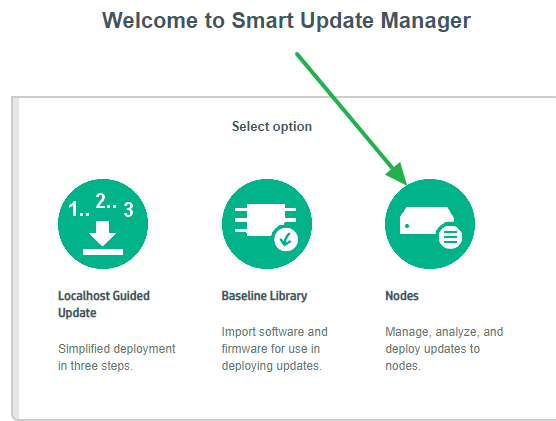
8. Firmware and Driver Update with COM
I’ve already explained the procedure in this Post.
Here it is again for completeness.
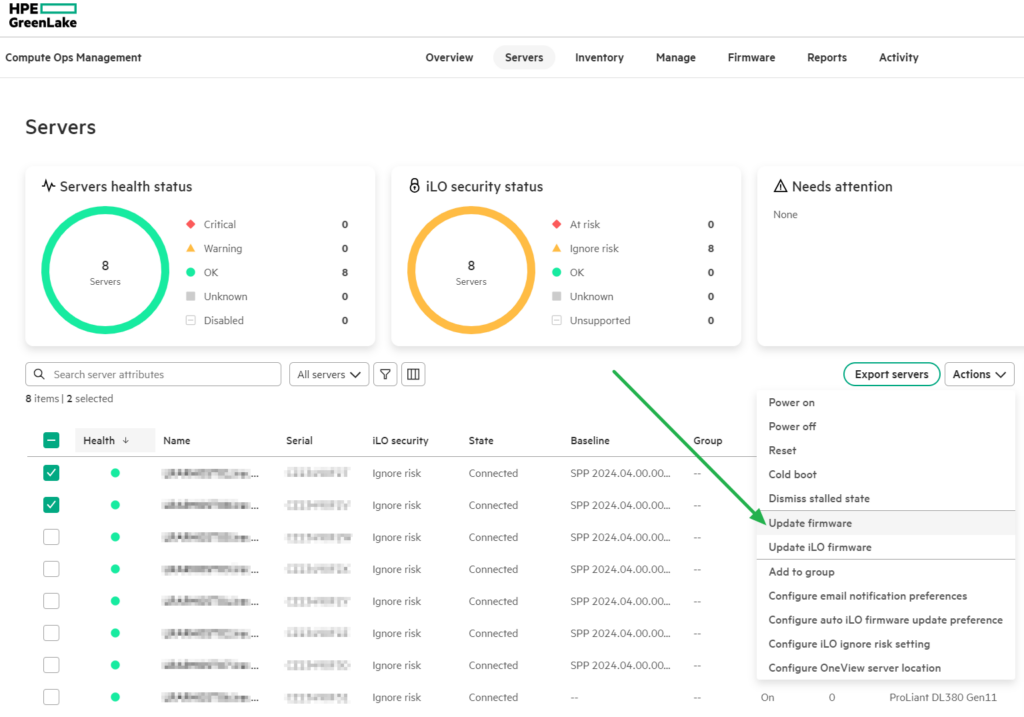
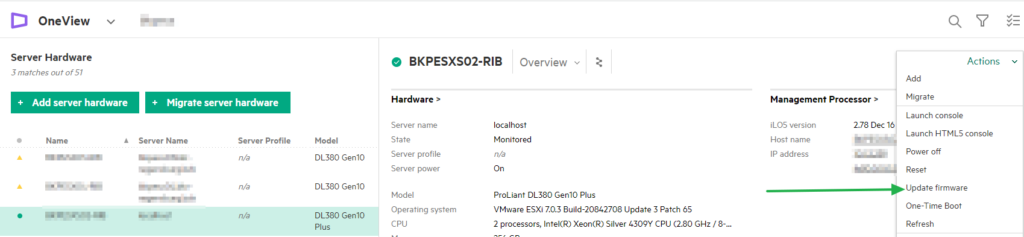
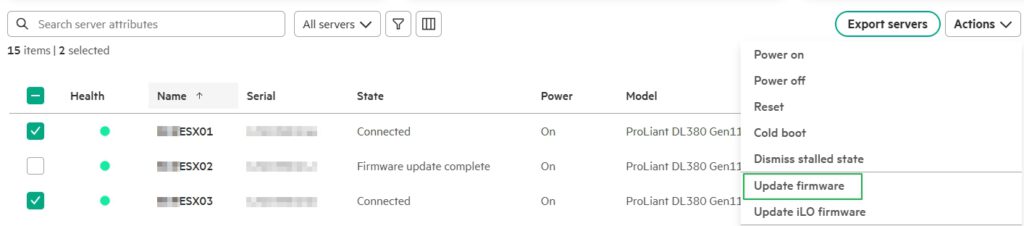
In COM, we go to Servers.
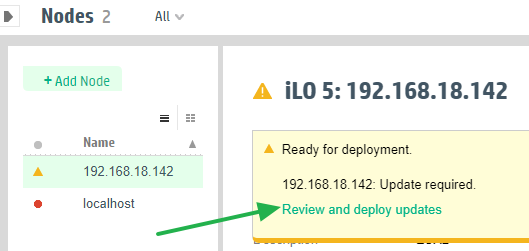
Then we select the required server(s) from the list of our servers and then under „Action,“ select „Update firmware.“
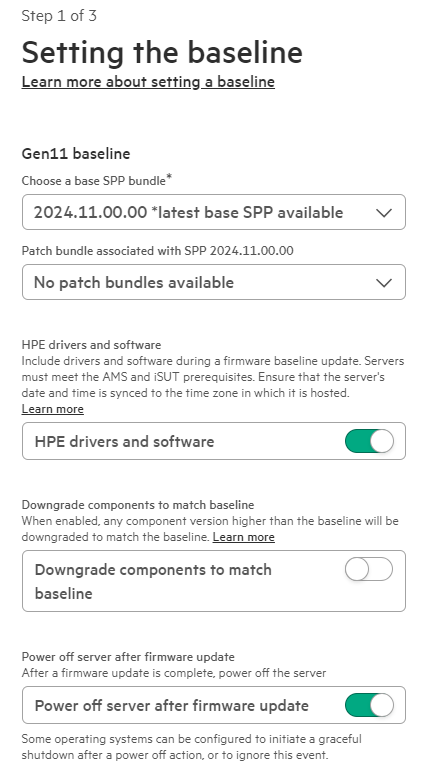
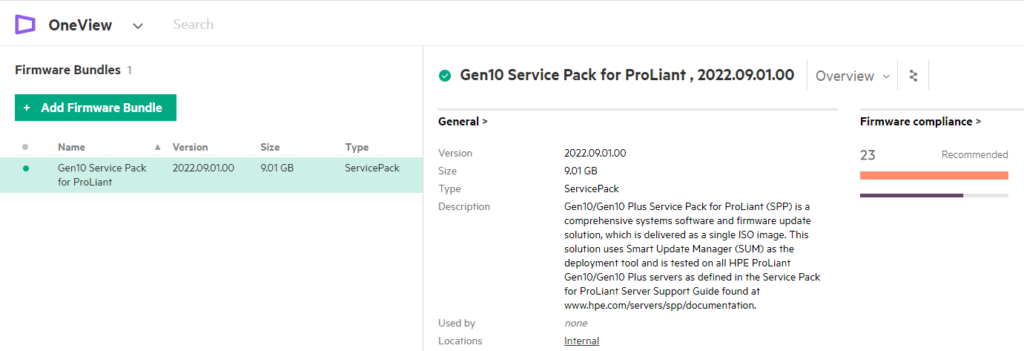
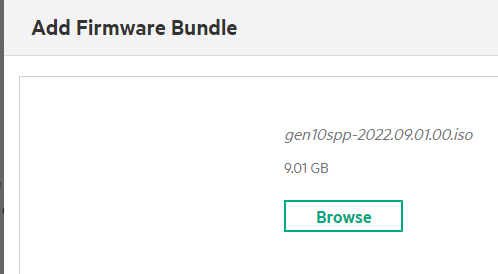
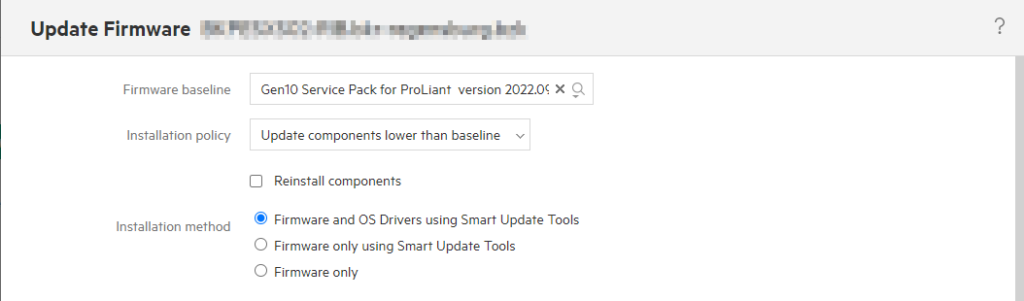
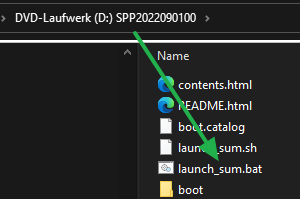
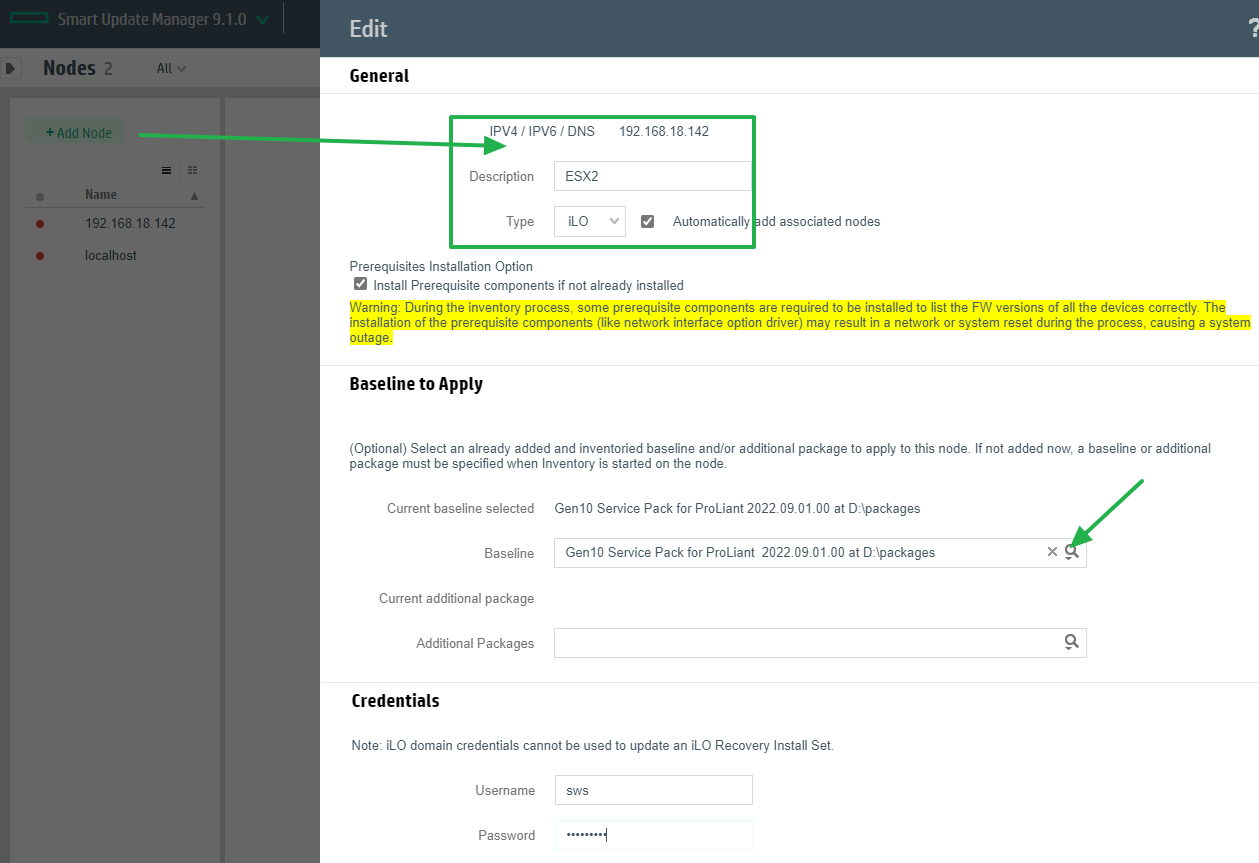
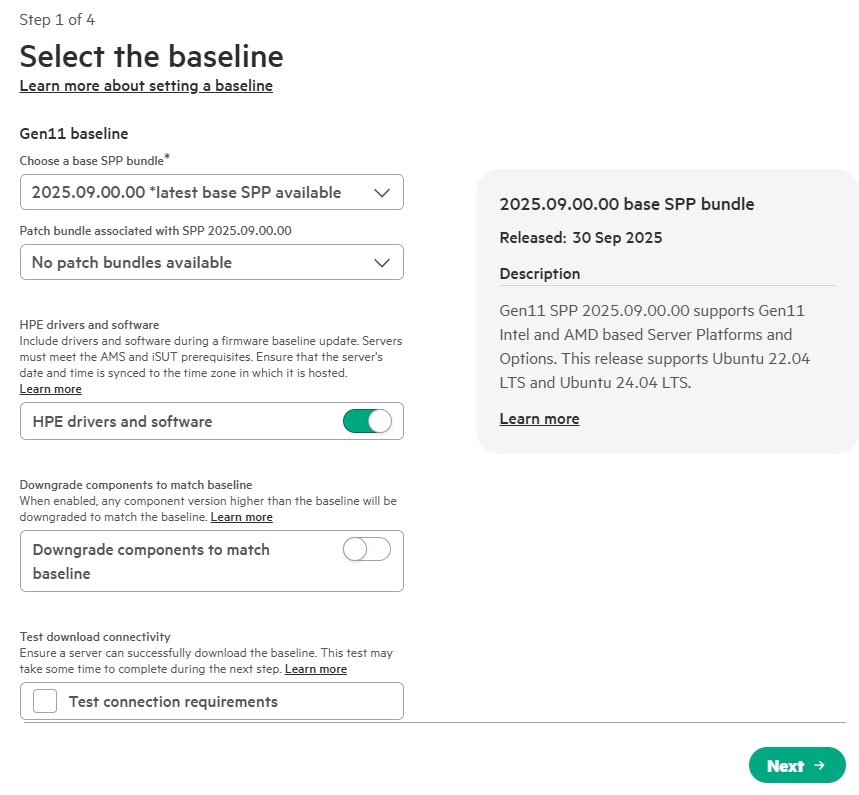
We select „Select a firmware baseline“ and
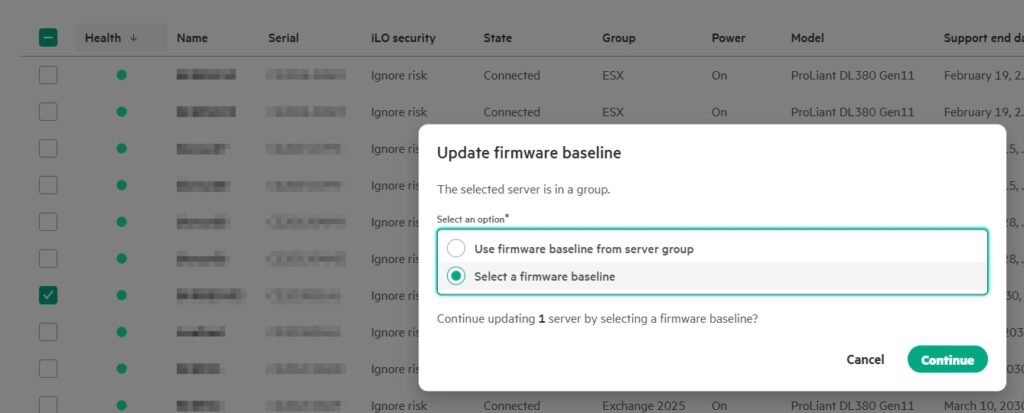
then the latest „Service Pack ProLiant“ (SPP).
Also „HPE drivers and software,“ because the drivers also need to be updated.
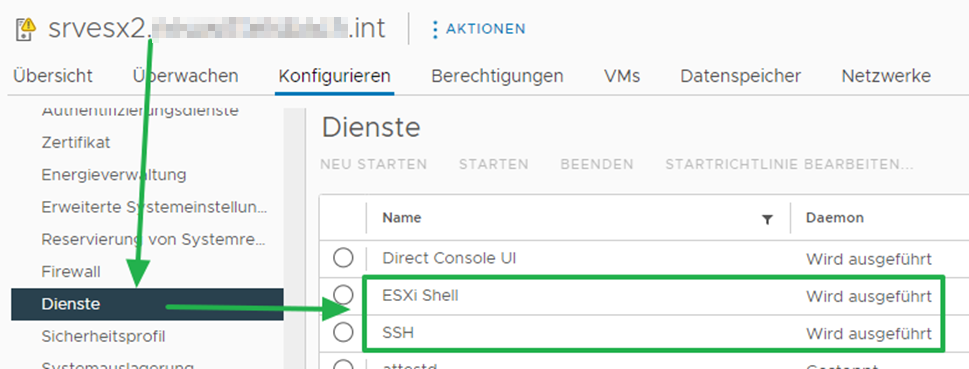
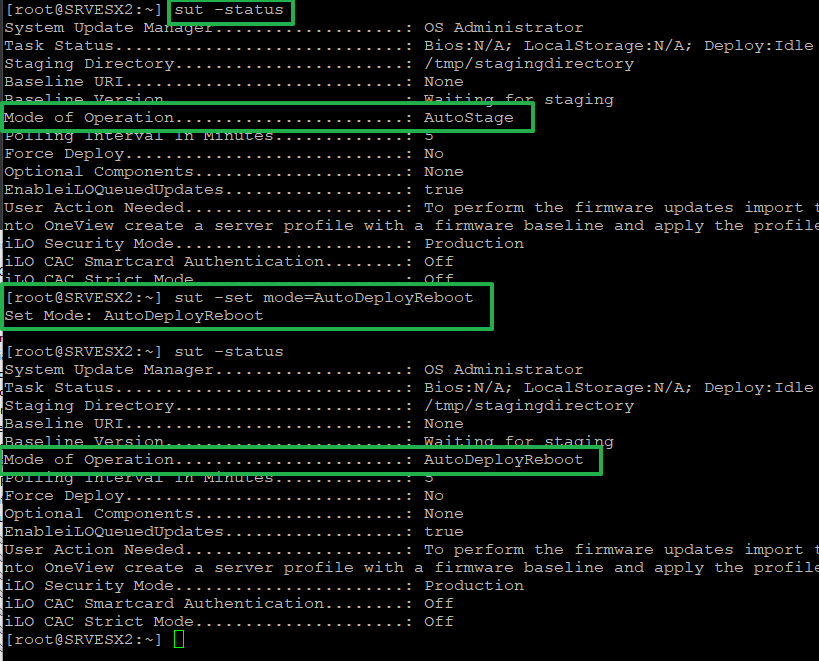
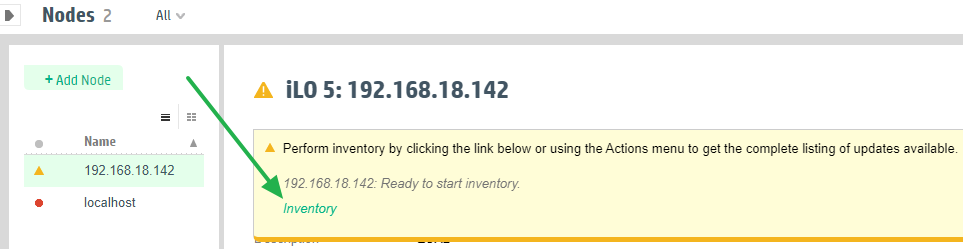
The necessary setting in the SUT (see link above) is now enabled by default.
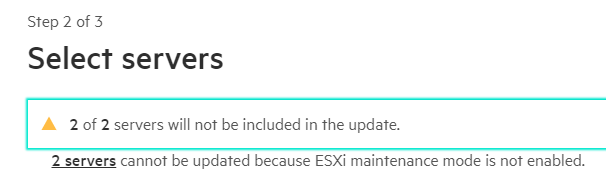
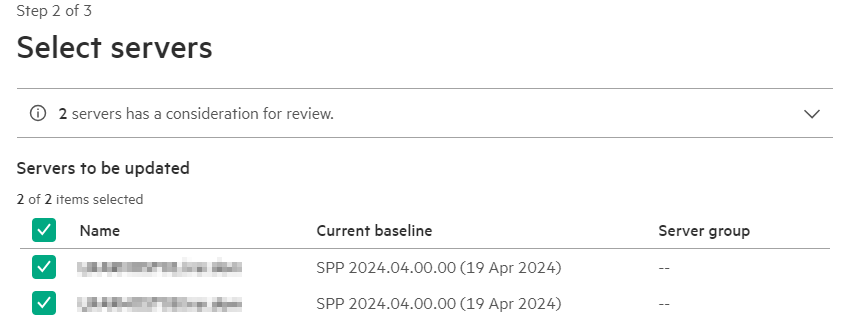
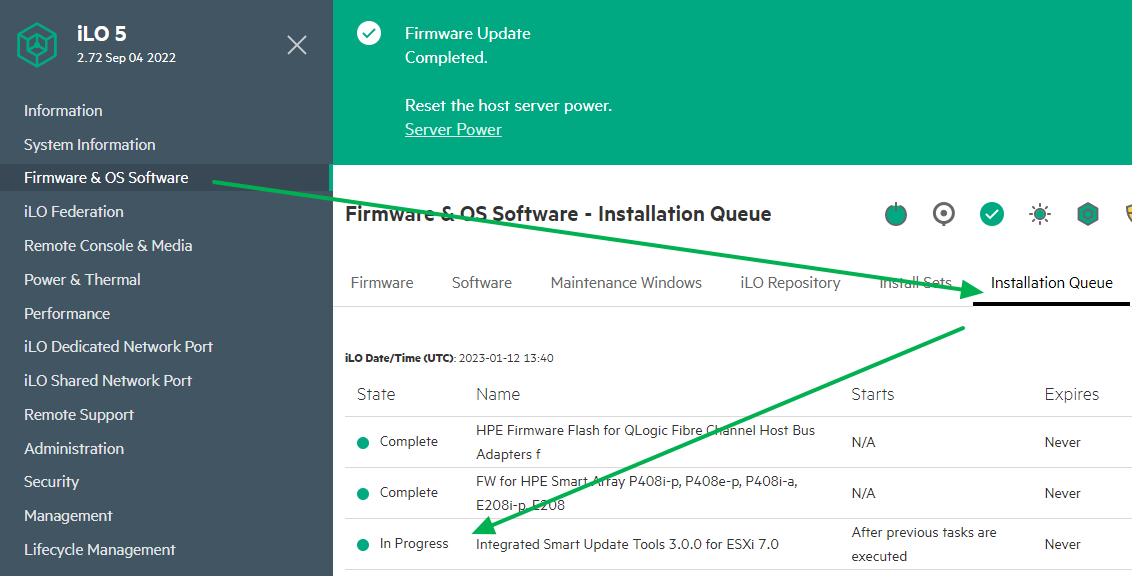
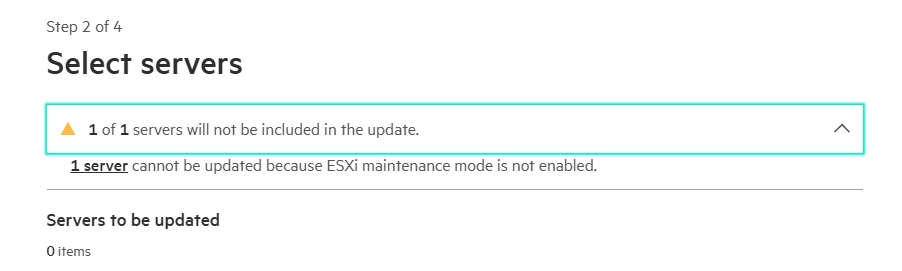
The selected servers are now checked to see if everything is correct, and then the update routine begins. If something is wrong, an error message like this appears:
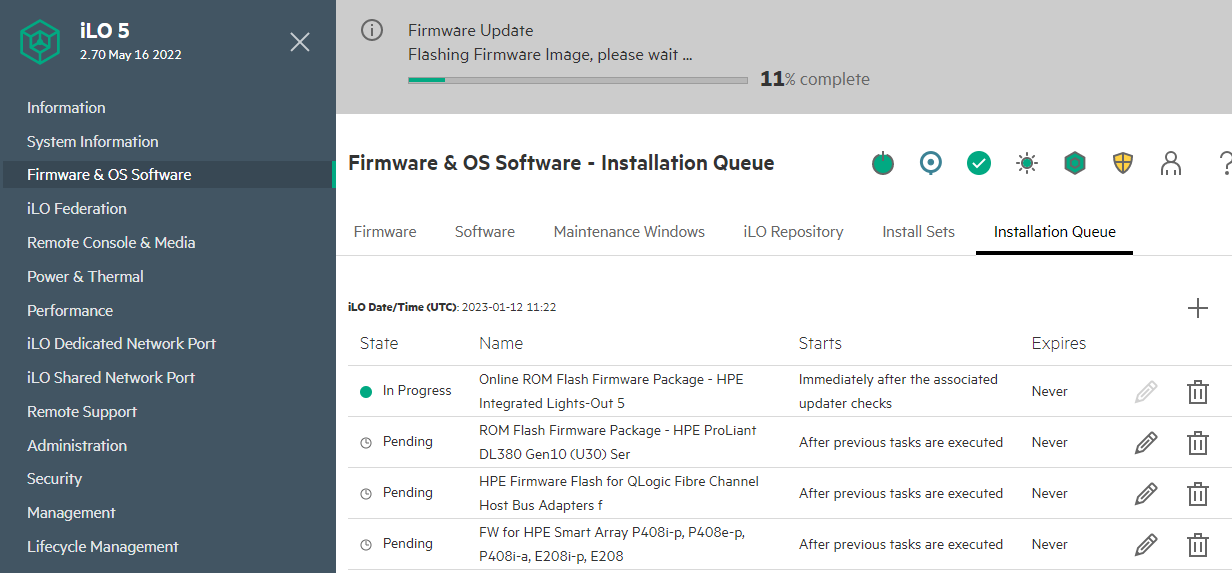
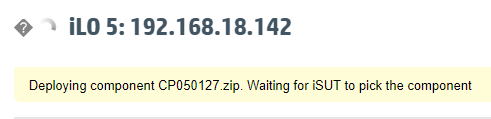
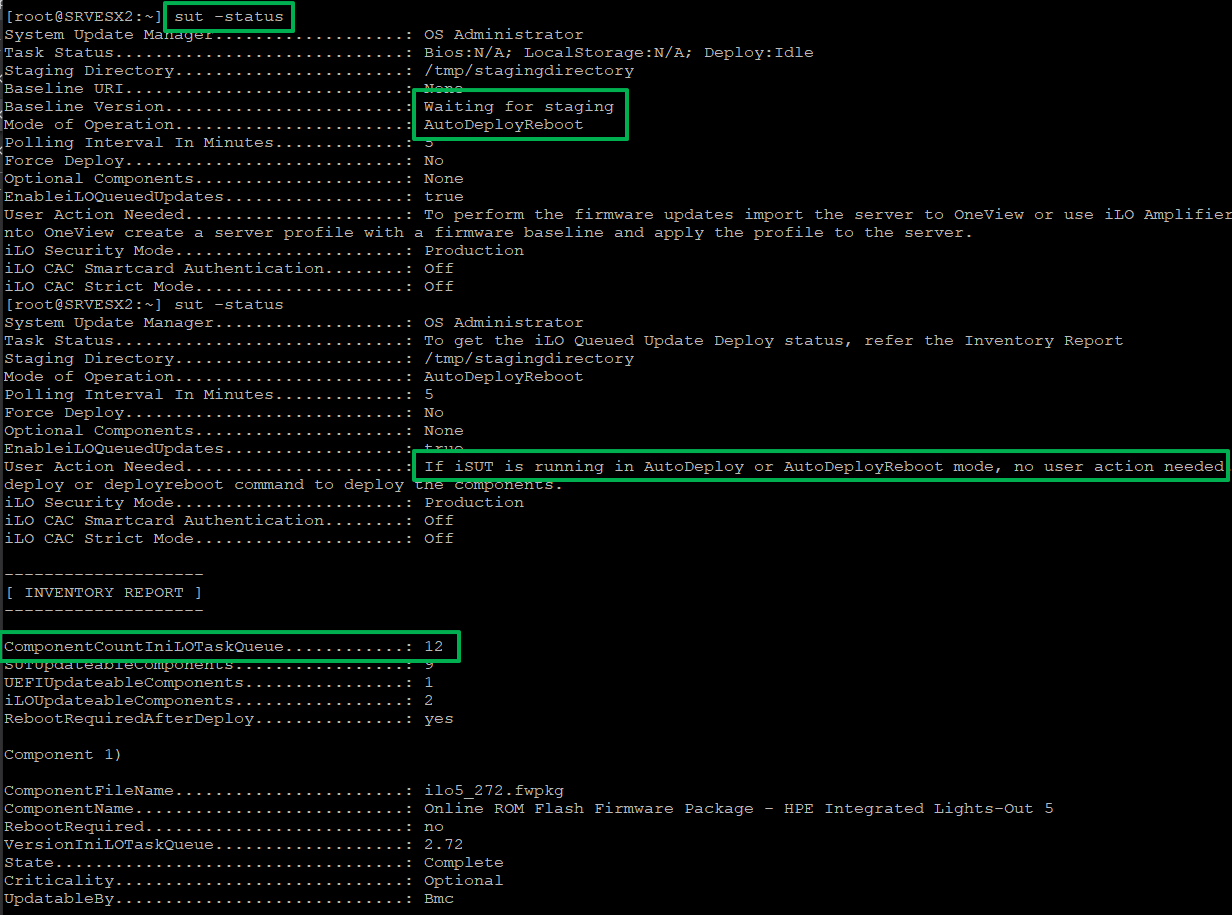
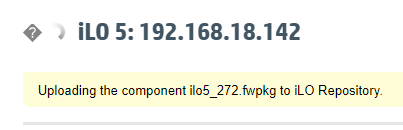
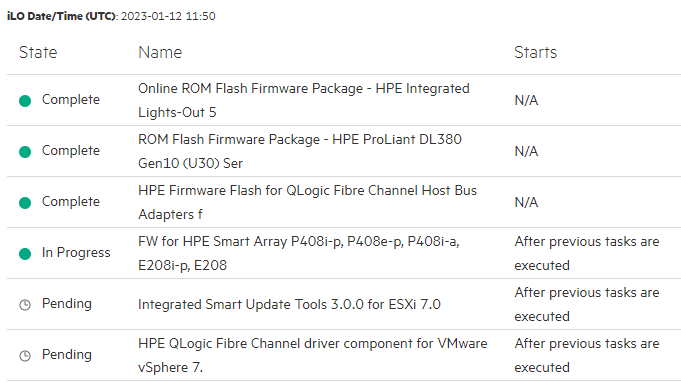
Now COM begins only copying the required updates to the server’s iLO NVRAM. From there, the update is then performed locally. The SUT helper service in the operating system takes care of the driver updates, which retrieves them from the iLO.
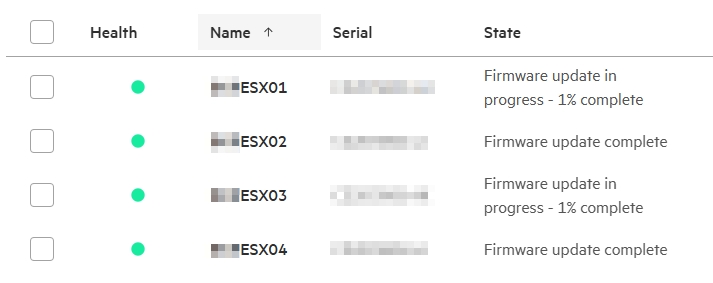
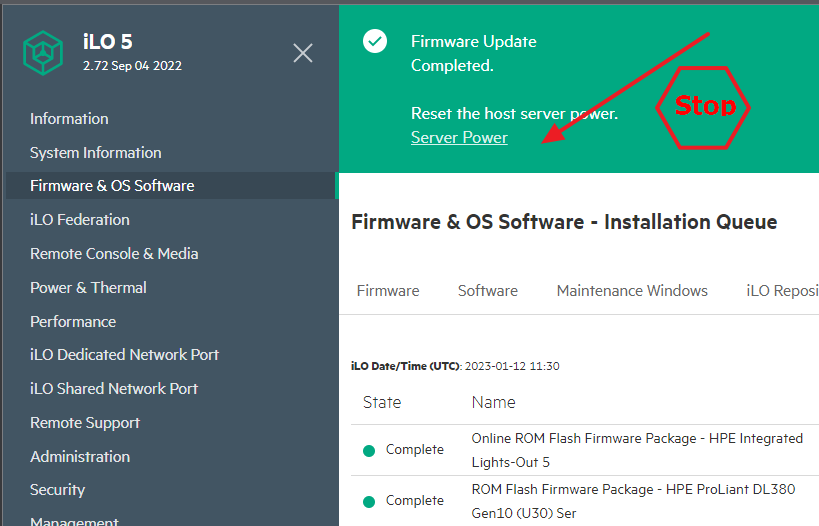
Now it’s time for a ☕break, just wait and do something else. The server will restart automatically at the end, as ESXi is in maintenance mode.

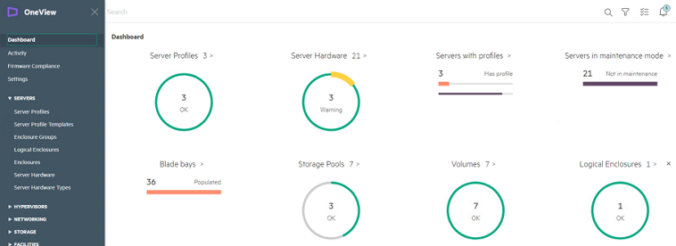
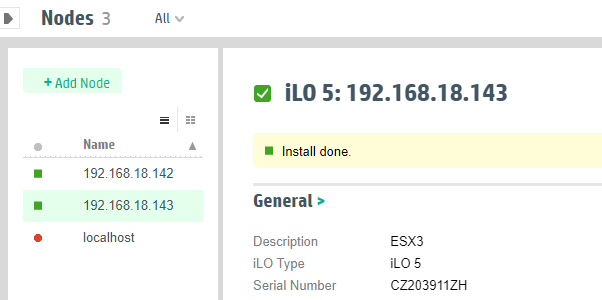
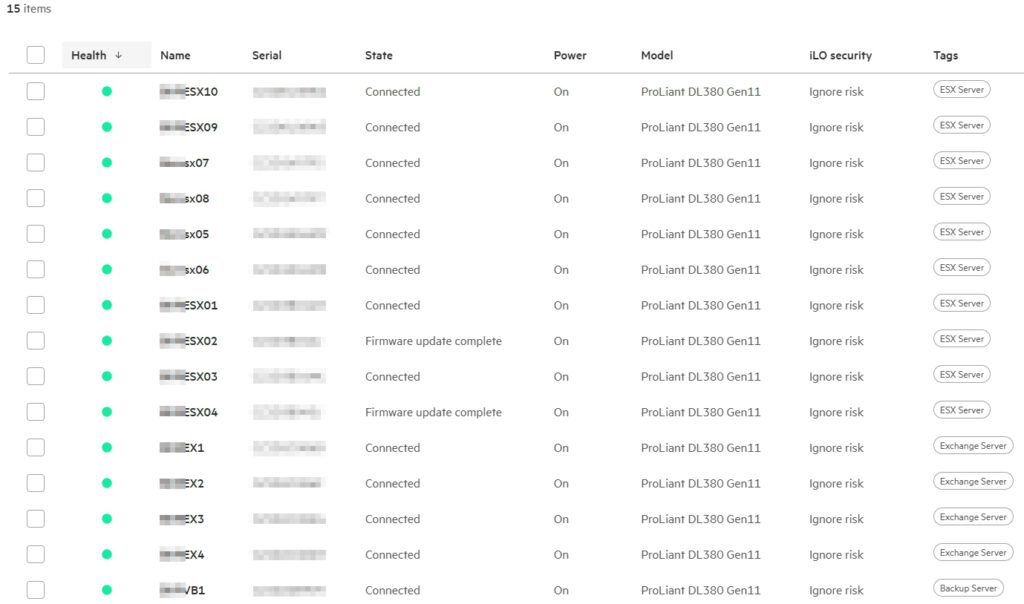
All updates are complete. This is what a finished environment might look like at the end.
Finally, we add the new servers to the HPE Support Portal.
8. HPE Support Portal
Support cases for hardware defects are now automatically opened via COM, and we can also have updates installed automatically on the servers. However, if you want to download an update from the Support Portal or open a case yourself, the device should be registered. To do this, go to the HPE Support page and create a support group the very first time.
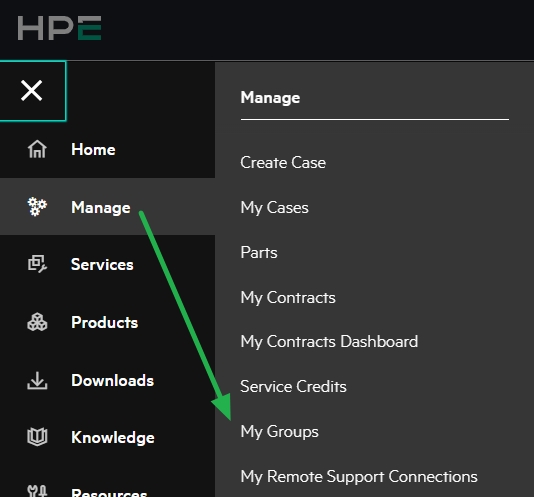
Within this group, we can add colleagues and enter their addresses. This has the advantage that colleagues can collaborate on a case.
We then go to „My Contracts“
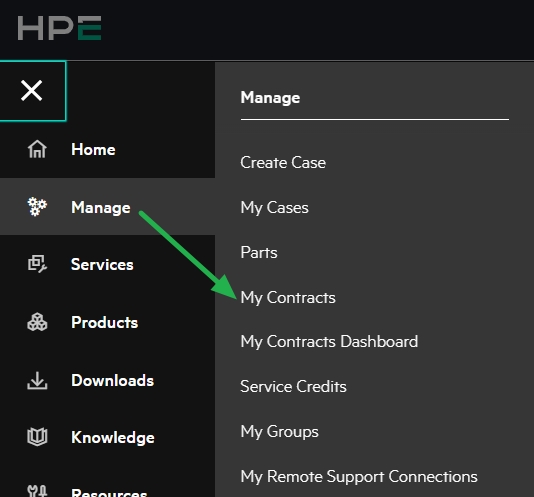
and add the Products.
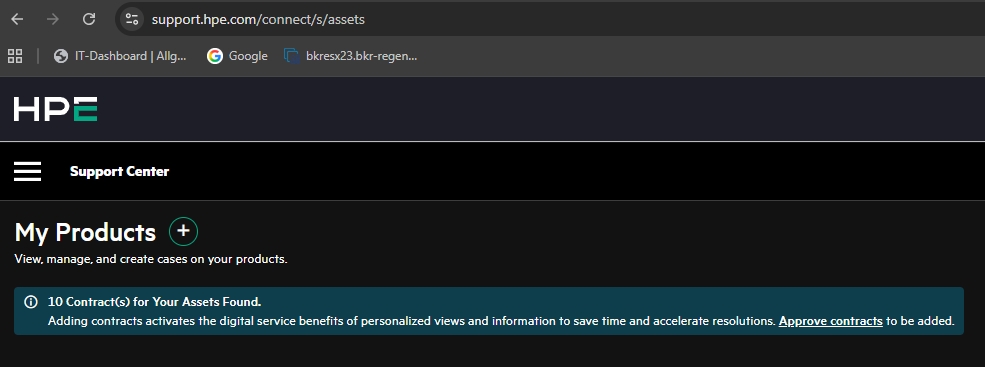
This can be done by serial number or contract number.

Once the devices have been added, it might look like this.
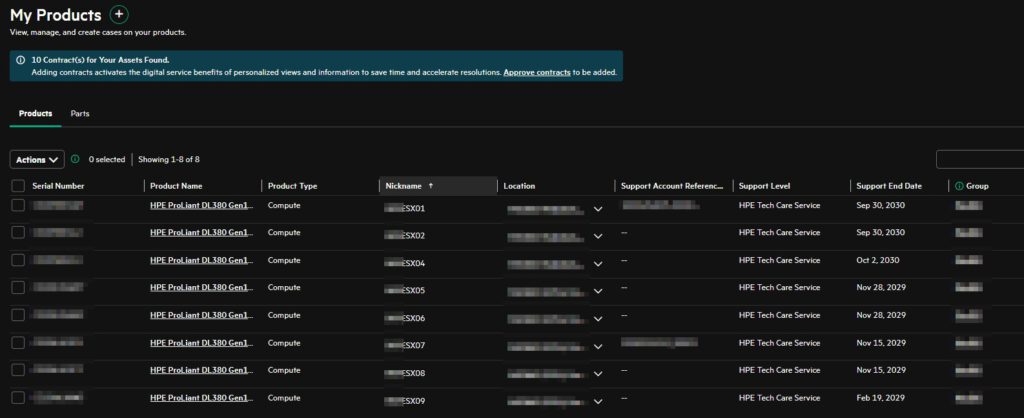
All licenses and devices are now registered and ready for productive use.